In the spring of 2010 my brother and I decided we would like to launch a camera into near-space, in order to take images of the earth from 90,000+ feet. We were primarily inspired by a well known project completed by some MIT students called Project Icarus. They became somewhat famous in the fall of 2009 by launching their vehicle into the stratosphere for less than $150. We have also utilized resources from the UK High-Altitude Society for various information regarding this project.
Planning
Our first attempt will be based on the Project Icarus design, because we believe it is the easiest and simplest way to achieve something like this. However, in the future we would like to repeat the project with more complicated launch vehicles.
We broke the design down into three major components: * Imaging: We need a camera which can be easily modified to automatically take pictures from our launch vehicle * Tracking: When the launch vehicle returns to earth, we will need to have some sort of electronics installed in it that can report its location, so that we can recover it. * Launch Vehicle: And of course we need the vehicle itself. It needs to protect the electronics throughout the flight. Then we addressed each one seperately.
Imaging
We decided to use a Canon camera, because we would be able to install the Canon Hardware Development Kit (CHDK) on it. CHDK allows you to control many settings of the camera that you dont normally have access to, and it will allow you to write scripts to automate the camera.
I found a script for creating time-lapse videos that will work perfectly for our purposes. The script will automatically take pictures with a specific delay between each.
Tracking
To solve the problem of tracking the balloon we need a device that will remotely report its location to us, so that we can recover it once it lands. It would be nice if this device worked during the entire duration of the flight so we could follow it, but all we really need is to track the location of the balloon once it lands.
A cellphone with a data plan and GPS is ideal for this application. It can track the location of the balloon with its GPS and report back to us using its data plan. The only drawback is that it will not work at altitude, so we can only track the ballon once it lands, but as I said, this is an acceptable loss.
The Motorola i425 is a cheap phone that satisfies all of these requirements. Used ones are available for just 20 or 30 dollars, and they can be operated with a data plan that costs just 35 cents a day.
Once we had the phone, we used the instamapper tracking software to follow its location. The website provides several step-by-step guides for installing the software on various phones, making it very easy to use.
Launch Vehicle
Just like Project Icarus, we decided to package everything inside of a styrofoam cooler. Its another cheap solution, but it will work well enough for our first attempt.
The cooler will be filled with foam from a foam mattress pad, with compartments cut out for the various electronics. Hopefully this will provide enough cushion to protect them from the shock of landing. We also plan to add chemical hand-warmers next to each device in order to counteract the effects of the cold at high altitude.
Project Outcome
On August 31, 2010, we launched our balloon. We prepared the payload that morning, and filled the ballon in time for a launch around noon. About 3 and a half hours later, our tracking software re-acquired the signal, indicating a successful landing. Unfortunately, when we arrived at the landing site, we found the payload stuck high in a tree. We decided the best course of action would be to simply wait. If were lucky a storm will eventually knock the payload out of the tree.
Below are some images from launch day:
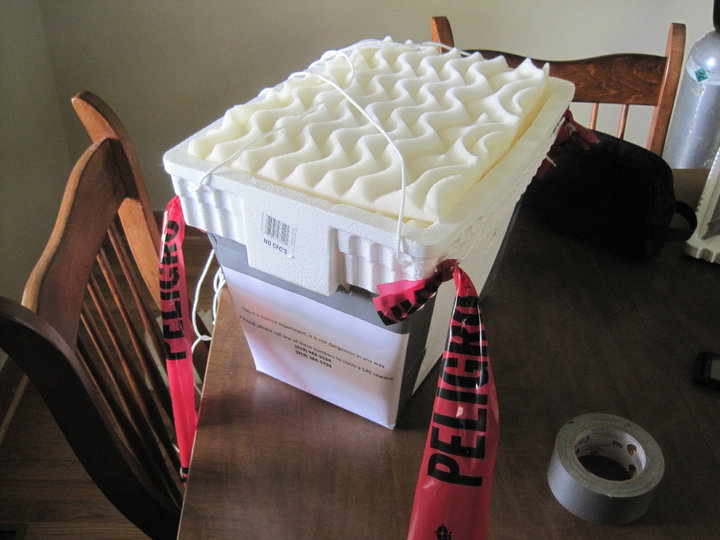
The cooler just before we sealed it off for the launch.
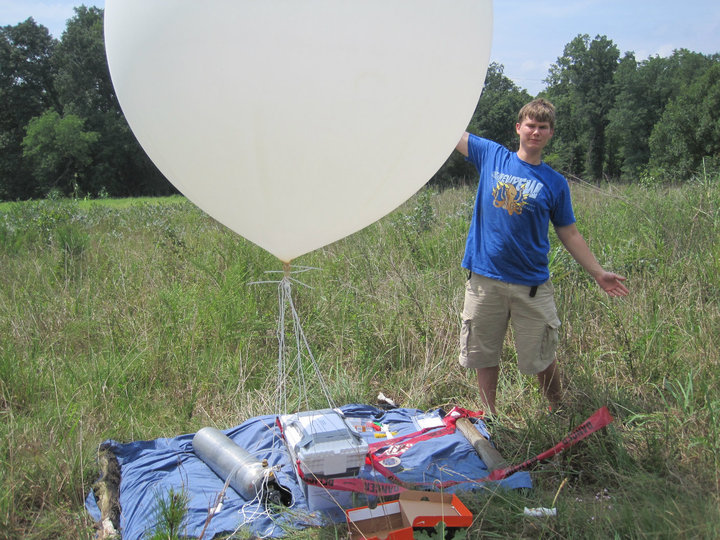
The entire project ready to go. At this point the balloon was full, the phone
was tracking, and the camera was recording.
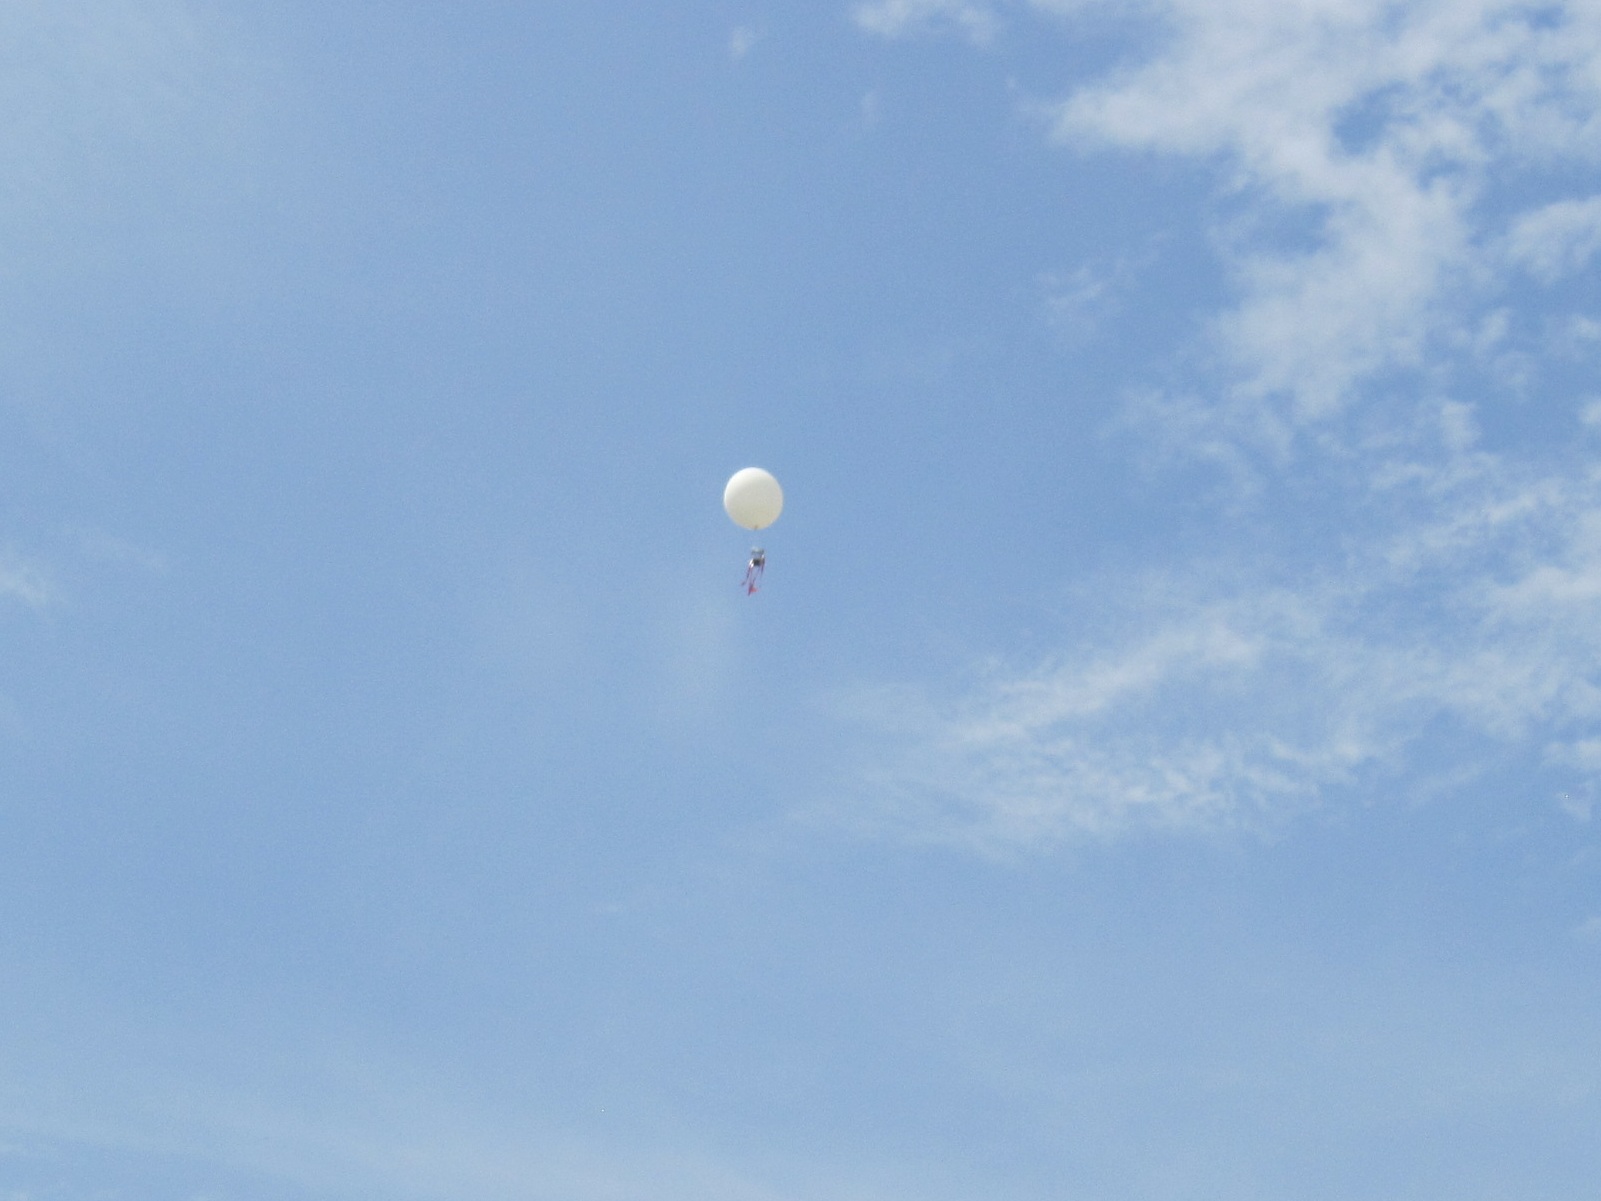
A successful launch!
UPDATE (8/21/2011): Payload Found!!
On August 12, 2011 - nearly a year after our launch - my brother got a call from someone who had found our payload. When he picked it up, it had traveled over a mile from its original landing site. The cooler looked completely destroyed, but the camera's SD card was still intact. Below I've posted a few of the images from the flight as well as a timelapse video of the entire flight.
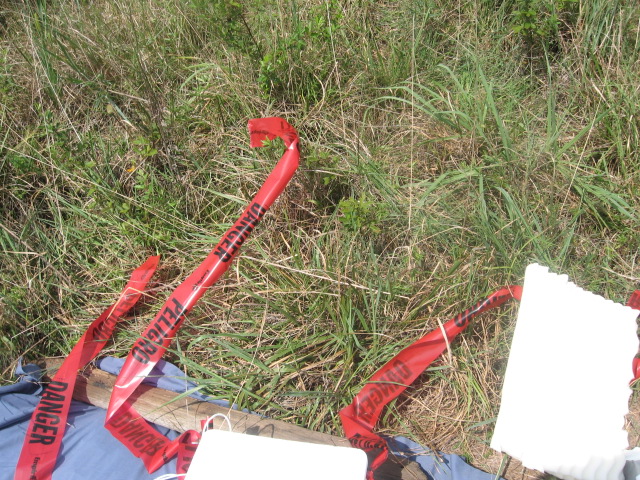
Here's the first image from the flight - you can see our payload and some of the
staging area.
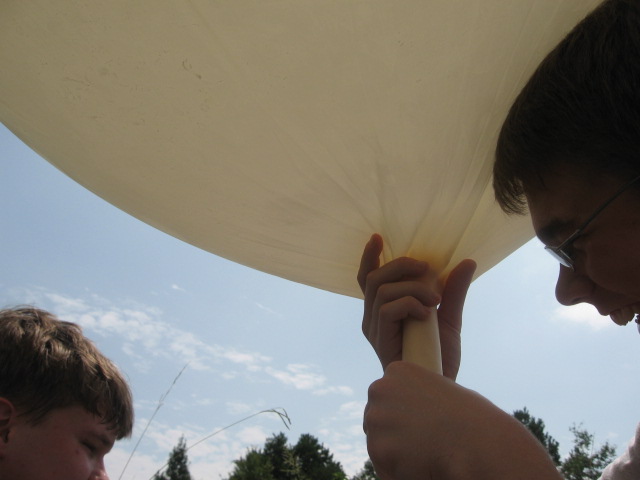
One of the pictures taken during the process of inflating the balloon.
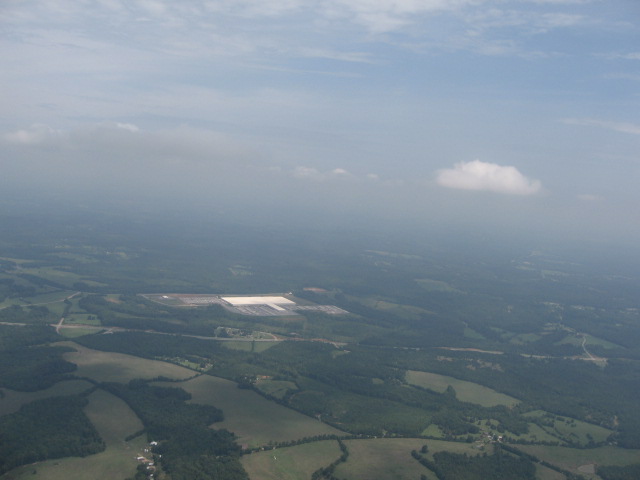
An image at a relatively low altitude - just high enough to see my brother's house.

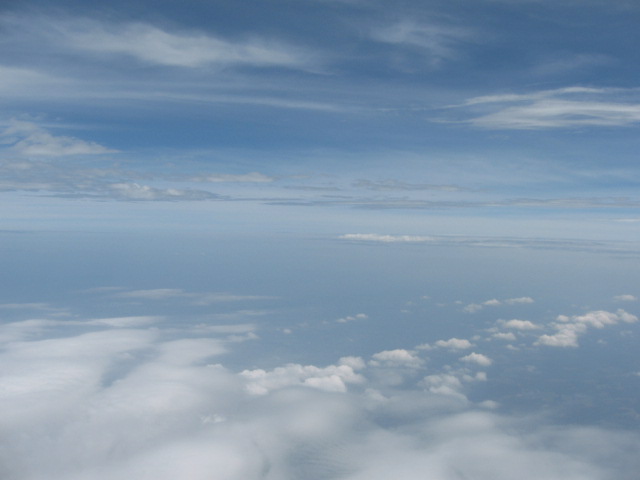
A few more images from the ascent...
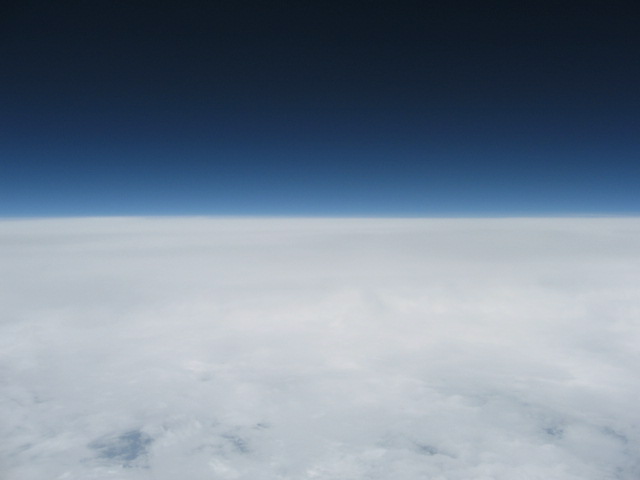
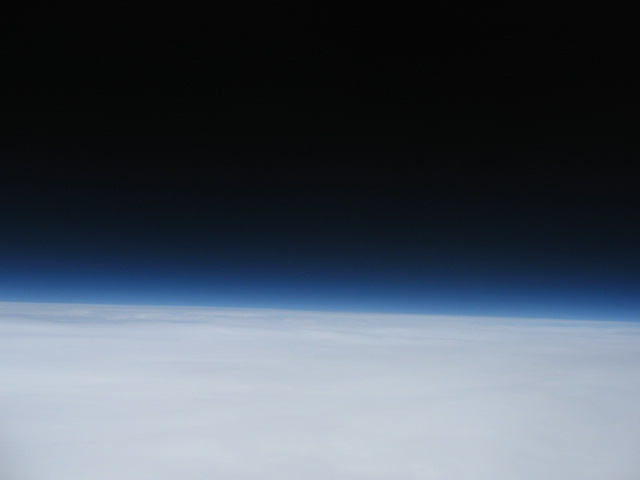
The last image before the balloon popped and the payload plummeted back to
earth.
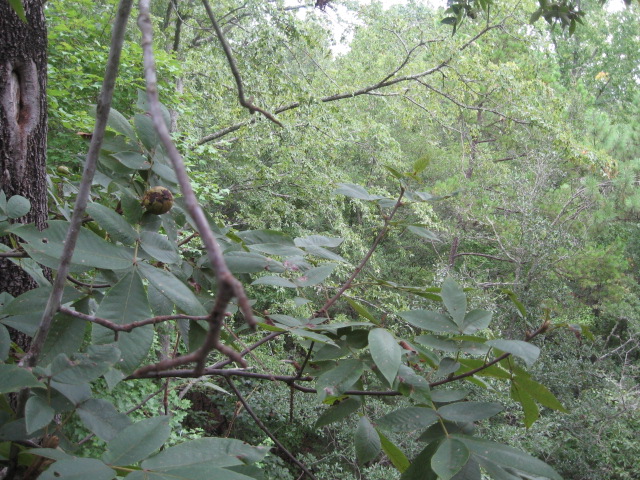
The last image from the entire flight. It shows the payload's final resting place - in a tree.
Timelapse